Local Snow Removal

Category: Snow & Ice Tips

  • Types of Ice Melt: Rock Salt vs. Calcium Chloride vs. Magnesium Chloride & More

    Types of Ice Melt: Rock Salt vs. Calcium Chloride vs. Magnesium Chloride & More

    Not all white pellets in a bag are the same. The types of ice melt used in professional snow removal differ wildly in working temperature, cost, speed, and what they do to concrete, plants, and pets. Here’s what contractors actually spread — and when each product is the right call.

    Rock Salt (Sodium Chloride)

    The workhorse. Cheap, abundant, and effective down to about 15–20°F.

    Pros: By far the lowest cost per pound; melts fast in moderate cold; easy to source in bulk.

    Cons: Nearly useless below 15°F; corrosive to metal, damaging to concrete (especially newer pours), harsh on grass, plants, and pets’ paws; chloride runoff harms waterways.

    Best use: Roads and big commercial lots in moderate winter climates where volume and price rule.

    Calcium Chloride

    The cold-weather champion. Works down to roughly -25°F and generates heat as it dissolves, melting ice faster than anything else on this list.

    Pros: Fastest acting; effective in extreme cold; works at lower application rates than rock salt.

    Cons: 2–4x the price of rock salt; can leave slippery residue if over-applied; still corrosive; can irritate skin — crews should wear gloves.

    Best use: Deep-cold snaps, high-priority walkways and entrances, and anywhere speed matters.

    Magnesium Chloride

    The middle path. Effective to about -10°F and noticeably gentler than rock salt or calcium chloride.

    Pros: Less damaging to concrete and vegetation; safer around pets than the chlorides above; works fast; often applied as liquid pre-treatment.

    Cons: Costs more than rock salt; needs heavier application than calcium chloride for the same result.

    Best use: Properties where owners care about landscaping, pets, and pavement — a common “premium service” upsell.

    Potassium Chloride

    A milder option effective only to about 20°F. Gentler on plants (it’s literally a fertilizer component), but slow, expensive for what it does, and weak in real cold. Usually found blended with other melters rather than used alone.

    Calcium Magnesium Acetate (CMA)

    The premium, chloride-free choice. Salt-free, biodegradable, and the least corrosive option — which is why it’s specified for parking garages, LEED buildings, bridges, and new concrete.

    Cons: Very expensive, works slowly, and performs best above ~20°F. It prevents ice from bonding to pavement more than it melts existing ice.

    Best use: Corrosion-sensitive infrastructure and environmentally restricted sites.

    Liquid Brine & Pre-Treatment

    Increasingly, pros spray salt brine (often blended with calcium or magnesium chloride) before a storm. Pre-treatment prevents ice from bonding to pavement, cuts total salt use by up to 30%, and makes post-storm clearing dramatically easier. If your snow contractor offers pre-treatment, that’s a sign of a serious operation.

    Quick Comparison Table

    ProductEffective ToSpeedRelative CostConcrete/Plant Safety
    Rock salt15–20°FModerate$Poor
    Calcium chloride-25°FFastest$$$Poor–Fair
    Magnesium chloride-10°FFast$$Fair–Good
    Potassium chloride20°FSlow$$Good
    CMA~20°FSlow$$$$Best
    Liquid brine (pre-treat)Varies by blendPreventive$–$$Good (less total salt)

    Application Tips That Save Money and Pavement

    More is not better — over-salting wastes product and accelerates concrete damage. Calibrate spreaders, sweep up excess after melt-off, avoid any chloride product on concrete less than a year old, and keep pet-safe blends (typically magnesium-based) for residential walkways.

    Ice management is half of professional snow work — the plowing is the other half. See our guides to commercial snow removal contracts and the best snow plow brands for the rest of the operation.

  • Brine Pre-Treatment: Why the Pros Spray Before the Storm

    Brine Pre-Treatment: Why the Pros Spray Before the Storm

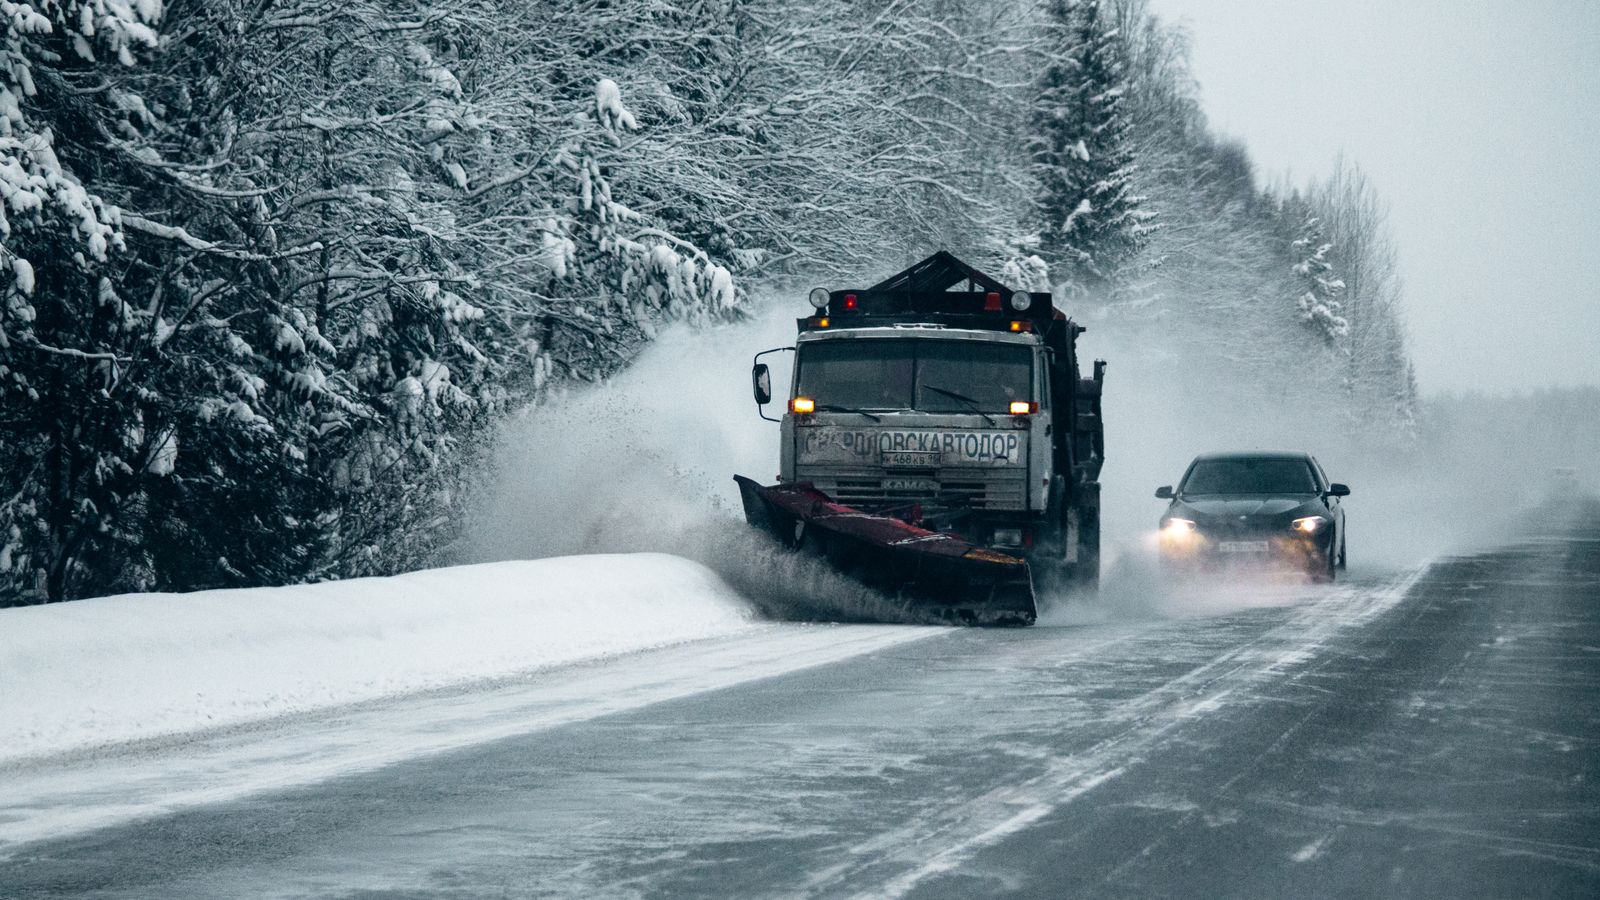
    Watch a highway department truck spraying lines on dry pavement the day before a storm and you’re seeing the most cost-effective tactic in modern snow and ice management. Brine pre-treatment (anti-icing) has moved from DOT fleets to private contractors — and properties that get it are noticeably safer and cheaper to maintain than those that don’t.

    Anti-Icing vs. De-Icing: The Key Distinction

    De-icing is reactive: snow falls, packs down, bonds to pavement, and you throw salt at the bond until it breaks. Anti-icing is proactive: liquid brine applied before the storm forms a thin chemical barrier so ice and hardpack never bond to the surface in the first place. Plows then scrape down to black pavement in one pass instead of leaving the stubborn skim coat that turns into a slip-and-fall factory.

    Why Brine Beats Dry Salt Before a Storm

    Dry rock salt bounces, scatters into lawns, and blows off dry pavement before the storm arrives — studies suggest 30% or more can be lost. Brine stays where it’s sprayed, starts working immediately (it’s already dissolved), and covers evenly at a fraction of the material. Typical results contractors see: up to 30% less total salt used per event, faster post-storm clearing, and far less bond ice at entrances and walkways.

    What’s in the Tank

    Standard mix is 23.3% sodium chloride brine — the concentration with the lowest freeze point (around -6°F). In deeper cold, contractors blend in calcium or magnesium chloride, and some add organic enhancers (beet juice derivatives) that improve adhesion and lower the working temperature further. For product-by-product details, see our guide to ice melt types.

    When Pre-Treatment Works — and When It Backfires

    Spray: 12–48 hours before a forecast snow or ice event, on dry or nearly dry pavement, with pavement temps roughly 15°F and above (blends extend this range).

    Don’t spray: before rain that will wash it away, onto heavy frost or existing ice, or when a storm starts as rain and flips to snow — the rain removes your barrier and the money’s gone. Good anti-icing is as much forecasting discipline as equipment.

    What It Means for Property Owners

    If your contractor offers pre-treatment, it signals a professional operation — and it’s worth the line item. Expect fewer icy mornings at entrances, less salt residue tracked into the building, less damage to concrete and landscaping, and stronger slip-and-fall documentation (proactive treatment reads very well in a liability dispute).

    What It Means for Contractors

    A basic brine setup — tank, pump, spray bar, and purchased or homemade brine — can start around a few thousand dollars and pays back in material savings and premium contract wins. Property managers increasingly ask for anti-icing in RFPs; offering it separates you from the plow-and-salt crowd. It also stretches salt supplies in shortage years, which anyone who lived through a salt crunch remembers vividly.

    Pre-treatment is one piece of a professional ice program — the rest is covered in our commercial contracts guide and ice melt comparison.

  • Roof Snow Removal and Ice Dams: When Snow on the Roof Becomes a Problem

    Roof Snow Removal and Ice Dams: When Snow on the Roof Becomes a Problem

    Most winters, the snow on your roof melts off without drama. Then comes the year with back-to-back storms, a deep freeze, and suddenly there’s a two-foot load overhead and icicles the size of baseball bats. Roof snow removal and ice dam prevention are two of the most misunderstood winter jobs — and two of the easiest to get hurt doing. Here’s what’s DIY-safe, what isn’t, and how to know when the roof actually needs help.

    How Much Snow Can a Roof Hold?

    Most modern roofs are engineered for typical regional snow loads — roughly 20 pounds per square foot in much of the snow belt, more where codes demand it. The catch: snow weight varies enormously. A foot of fluffy powder weighs ~5 lbs/sq ft; a foot of wet, packed snow can exceed 20; ice weighs nearly 60. Warning signs of an overloaded structure: new interior cracks, doors suddenly sticking, sagging ridge lines, and creaking or popping sounds. Any of those — get people out and call a professional immediately. Flat and low-slope roofs (porches, additions, older barns and outbuildings) fail far more often than steep main roofs.

    Ice Dams: The Real Villain

    Ice dams form when heat escaping your attic melts the underside of the snowpack; meltwater runs to the cold eaves and refreezes into a growing ridge of ice. Water pools behind the dam, backs up under shingles, and shows up as stained ceilings and wet walls — often weeks later.

    The permanent fix isn’t removal — it’s insulation. Ice dams are an attic problem wearing a roof costume: air-seal attic bypasses, insulate to modern standards, and ventilate the roof deck so it stays cold. Houses that fix this stop growing dams almost entirely.

    Short-term relief: rake snow off the lower 3–6 feet of roof after storms, and use calcium chloride socks (never rock salt, which stains and corrodes) laid across the dam to melt drainage channels. Hacking at dams with a hatchet destroys shingles — skip it.

    The Safe DIY Limit: Feet on the Ground

    A roof rake — a wide blade on a telescoping pole ($40–$120) — lets you clear the critical eave zone while standing on the ground. That’s the DIY boundary. Climbing onto a snow-covered roof combines every winter hazard at once: ice underfoot, hidden skylights, unstable snow slabs, and a frozen landing. Every winter, falls from roofs injure far more people than the snow load ever would have.

    When to Call a Pro

    Two feet or more of accumulated snow (less if it’s saturated or rain is coming), visible ice dams with interior leaks, flat-roof buildings, and any structural warning sign. Professional crews with roped access, proper tools, and insurance typically charge $250–$700+ per roof depending on size and depth — cheap next to a collapsed porch roof or a season of ceiling repairs. Verify they carry liability and workers’ comp coverage; an uninsured guy on your roof is your risk, not his (see our hiring guide).

    The Season-Long View

    Rake the eaves after each big storm, keep gutters clear going into winter, fix the attic once and forever, and treat roof work as the one snow job where hiring out is the default, not the fallback. For everything at ground level, our driveway guide and shoveling safety guide cover the rest of the property.

  • Sidewalk Snow Removal Laws: What Homeowners and Businesses Are Required to Do

    Sidewalk Snow Removal Laws: What Homeowners and Businesses Are Required to Do

    Surprise for many new homeowners: in most cities and towns, the sidewalk in front of your property is your legal responsibility to clear — even though the city owns it. Sidewalk snow removal laws vary by municipality, but the pattern is consistent, the fines are real, and the liability exposure is bigger than most people realize.

    The Typical Ordinance

    Most snow-belt municipalities require the adjacent property owner or occupant to clear sidewalks within a set window after snowfall ends — commonly 24 hours, sometimes 12 or 48. Many ordinances also require a minimum cleared width (often 36–48 inches, enough for wheelchairs and strollers), treatment of ice with sand or de-icer when it can’t be removed, and clearing of curb ramps on corner lots. Commercial properties frequently face tighter windows — some cities require business districts cleared by 9 or 10 a.m.

    Always check your specific city or township ordinance — requirements, deadlines, and fines are local. This article covers the common patterns, not your exact rules.

    What Happens If You Don’t

    Fines: typically $25–$250 for first offenses, escalating for repeats. City-hired clearing billed to you: many municipalities clear chronic offenders’ walks and add the cost (often $100–$300+) to the property tax bill. The bigger exposure — civil liability: when someone slips on your uncleared or half-cleared walk, ordinance violation becomes evidence of negligence. Legal outcomes vary by state (some follow versions of the “natural accumulation” doctrine), but the practical rule is simple: a documented, promptly cleared walk is your best defense. Our snow removal liability guide covers the documentation side.

    Rules People Break Without Knowing

    Don’t throw snow into the street — illegal almost everywhere, and it creates refreeze hazards the city plow smears down the block. Don’t bury hydrants, curb ramps, or bus stops — many ordinances specifically require keeping these clear. Corner lots owe both frontages plus the ramps. Renters:

    The Practical Playbook

    Clear early — snow shoveled before foot traffic packs it takes half the effort (technique in our driveway guide). Treat ice patches with an appropriate de-icer — plain rock salt quits in deep cold and eats concrete. And if you travel, work early hours, or physically shouldn’t shovel (see our safety guide — the heart risks are real), put sidewalks in your snow service contract. Most residential plans add walks and steps for $15–$40 per visit — cheaper than one fine, let alone one lawsuit.

    For Businesses

    Commercial sidewalk duty is stricter in both ordinance and courtroom — customer foot traffic means slip-and-fall exposure that dwarfs municipal fines. A commercial snow contract should name sidewalks explicitly, with timing and de-icing terms; our commercial contracts guide shows what that clause looks like.